
Domains
Buy, add and manage domains for your landings.
In this section, you can buy domains, add existing ones, and manage them.
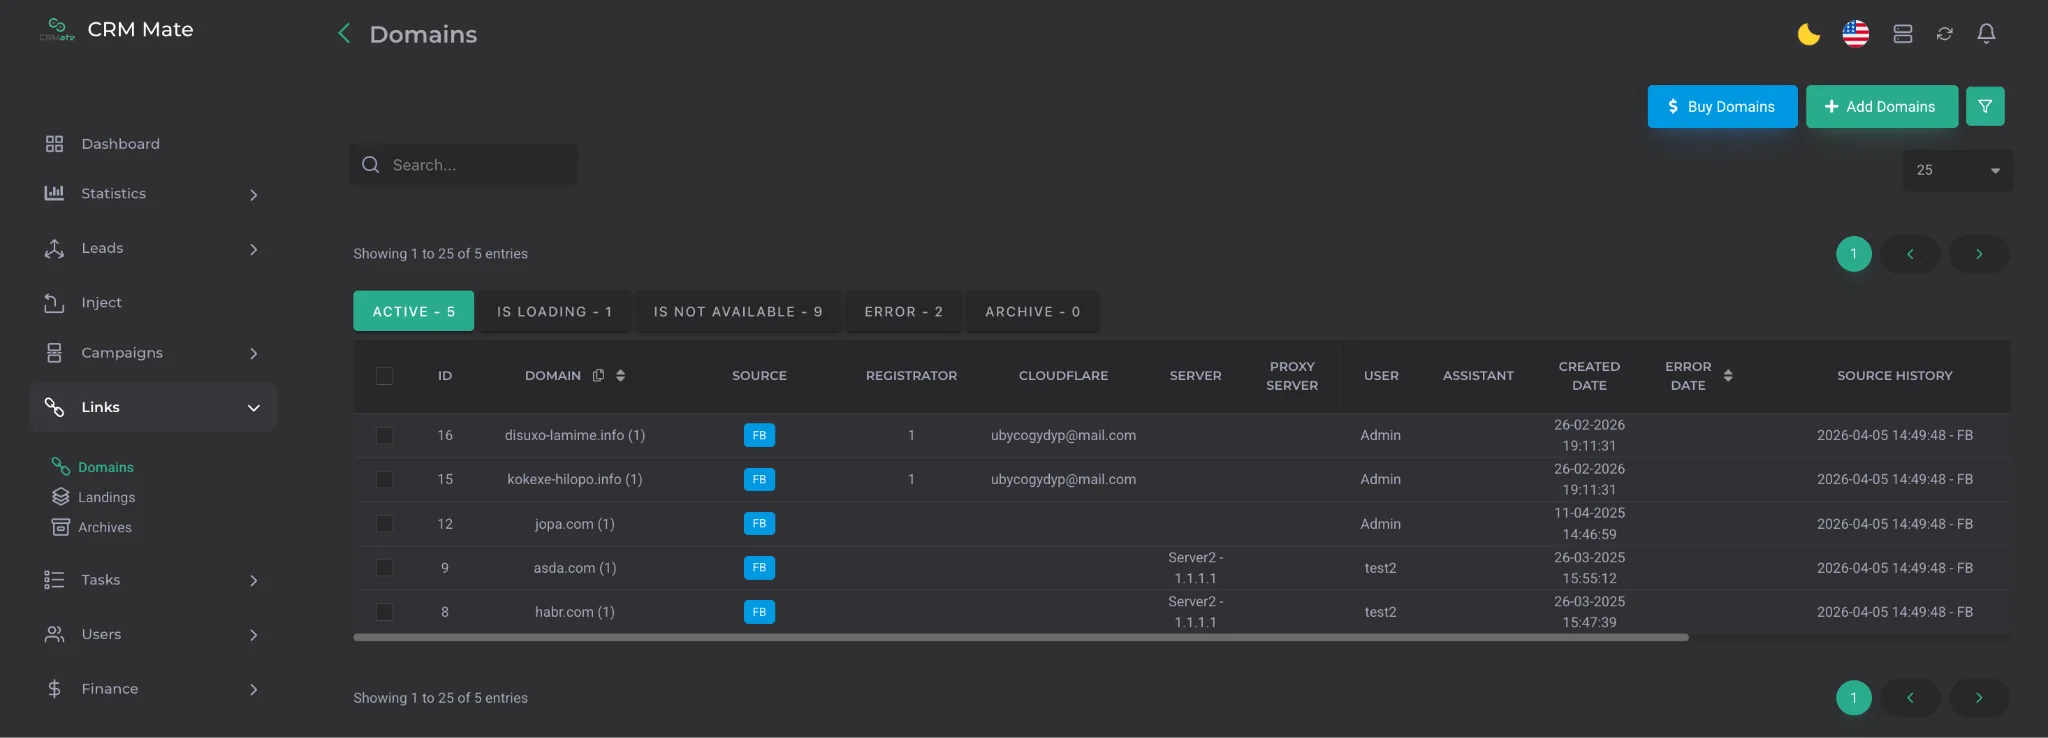
For this purpose, the menu has separate buttons for adding and buying domains.
At the top of the page, domain filters and settings for the number of domains displayed per page are also available for more convenient work with the list.
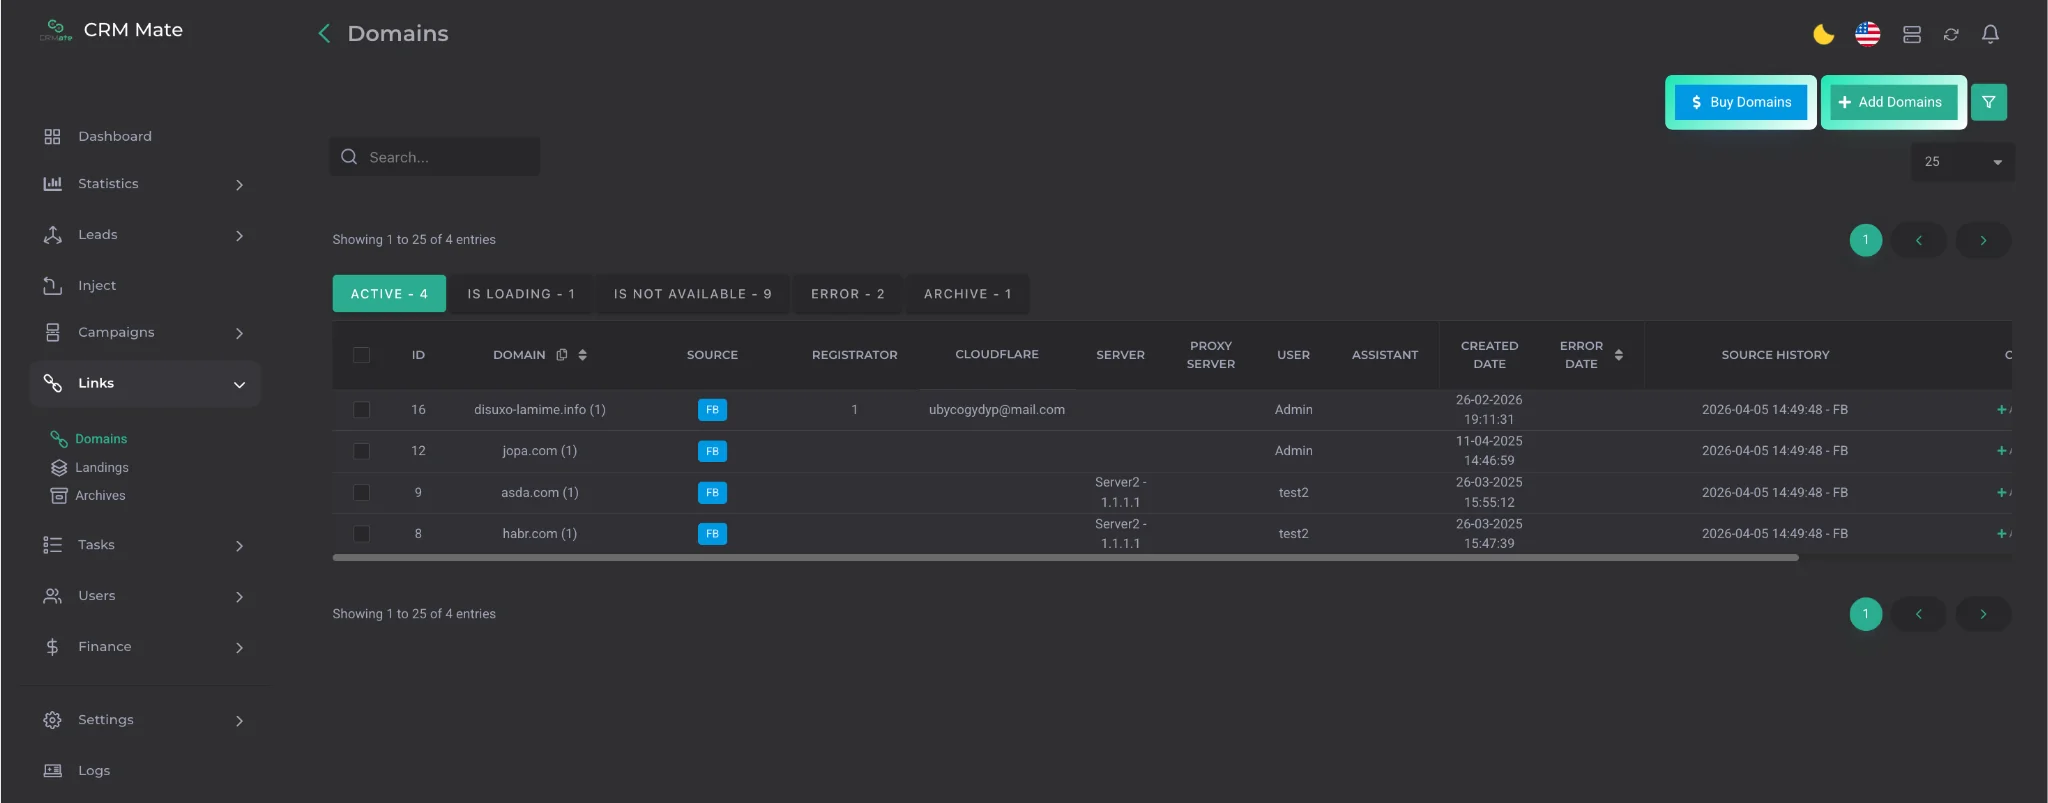
After selecting Add Domains, the domain setup menu will open.
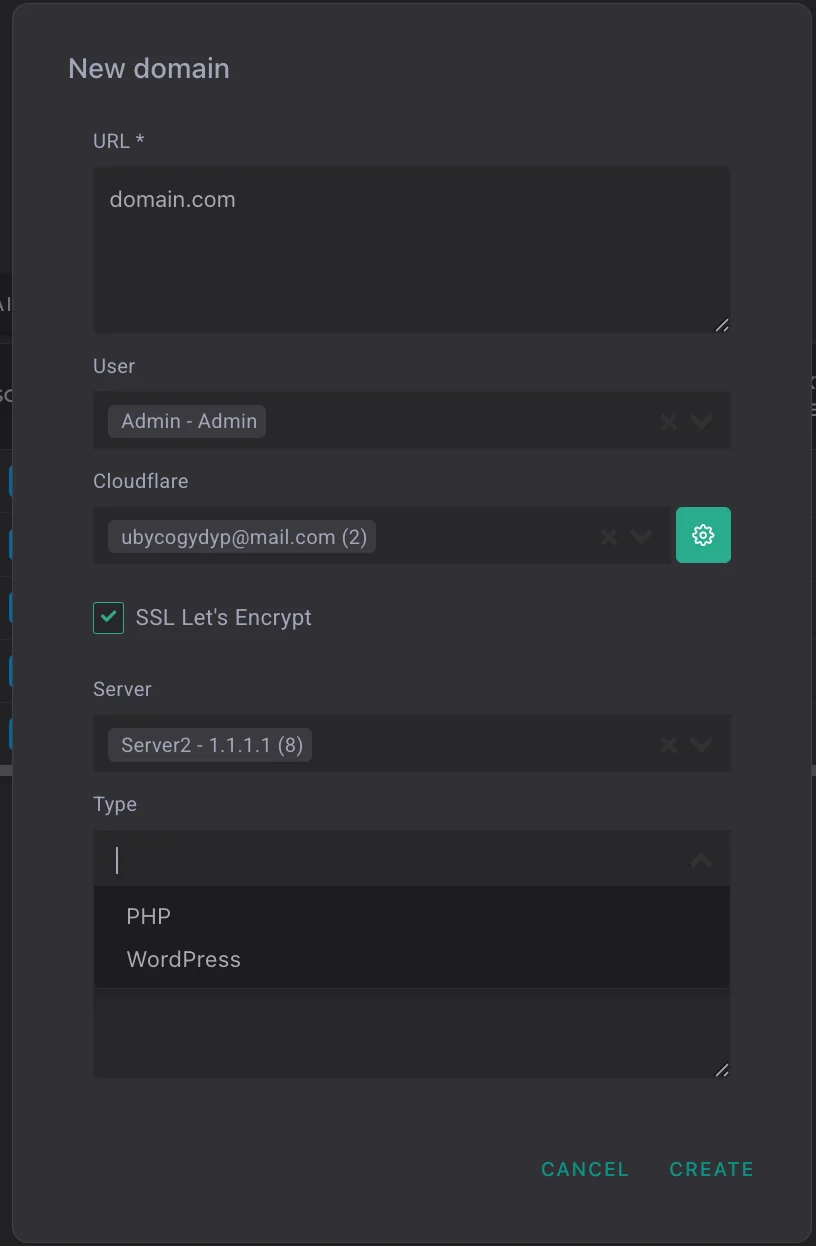
The following parameters are available:
- URL — the domain address;
- User — the user to whom the domain will be assigned;
- Cloudflare — the Cloudflare account, which can be added through the Services section in the CRM;
- SSL Let’s Encrypt — a function for obtaining an SSL certificate. A secure connection is indicated by the letter “s” in the link (https://). Most often, Cloudflare is used for this purpose; however, it is not suitable for all GEOs. For example, it may work incorrectly for RU, so in such cases this function can be used;
- Server — the server to which the domain will be assigned;
- Type — the domain type. Two options are available: PHP for regular websites in .php format, or WordPress for WordPress websites used as a white page in cloaking. After selecting Buy Domains, the domain purchase menu will open.
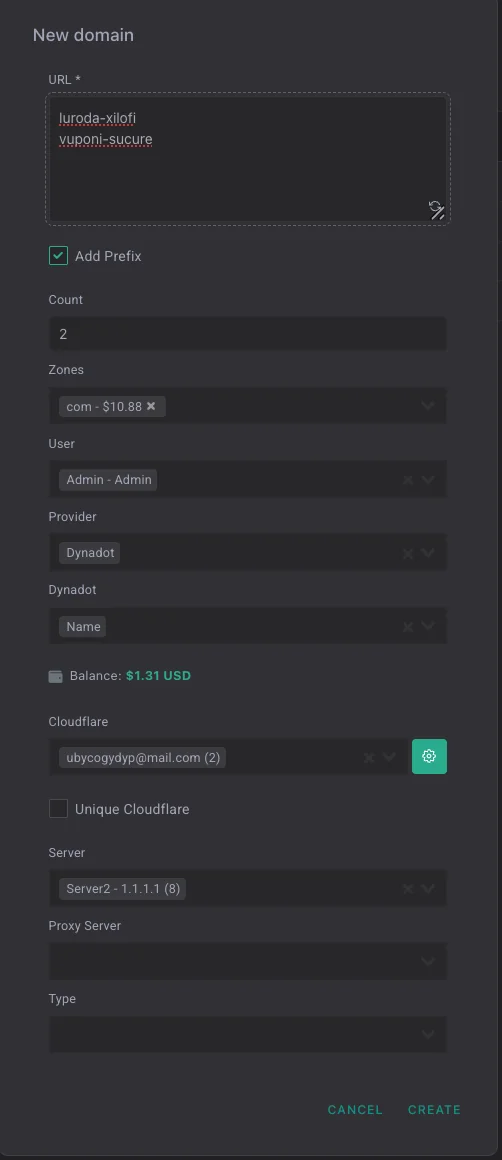
The following parameters are available in it:
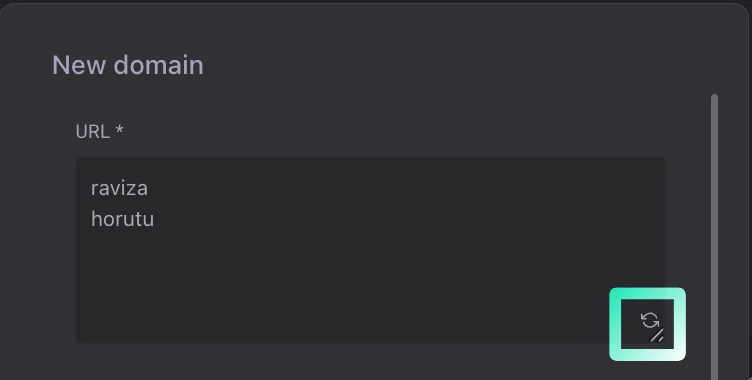
- Count — used for automatic domain generation. If domain names are not entered manually, you need to specify the number of domains that the system should generate. It can be used together with the Add Prefix function;
- URL — the domain name without the domain zone. Each domain must be entered on a new line;
- Add Prefix — adds a prefix to the domain name. After activating this function, you need to click the refresh button for the changes to be applied;
- Zones — selection of the domain zone;
- User — the user to whom the domain will be assigned. Landings linked to this domain will work on behalf of this user;
- Provider — selection of the service for buying domains: Dynadot or Namecheap. After selection, the balance of the selected account is displayed. Providers are connected in the CRM settings;
- Cloudflare — the Cloudflare account added through the Services section;
- Unique Cloudflare — used when working with a large number of domains. The system will automatically distribute domains between all connected Cloudflare accounts;
- Server — the server to which the domain will be assigned;
- Proxy Server — allows the domain to be assigned to a proxy server in order to hide the real IP address and redirect traffic through it. It can be used together with Cloudflare. In this case, traffic first passes through Cloudflare, then through the proxy server, and only after that reaches the server with the landing. This provides double proxying. A proxy server can be created in the CRM settings;
- Type — the domain type: PHP for regular websites in .php format, or WordPress for WordPress websites used as a white page in cloaking.
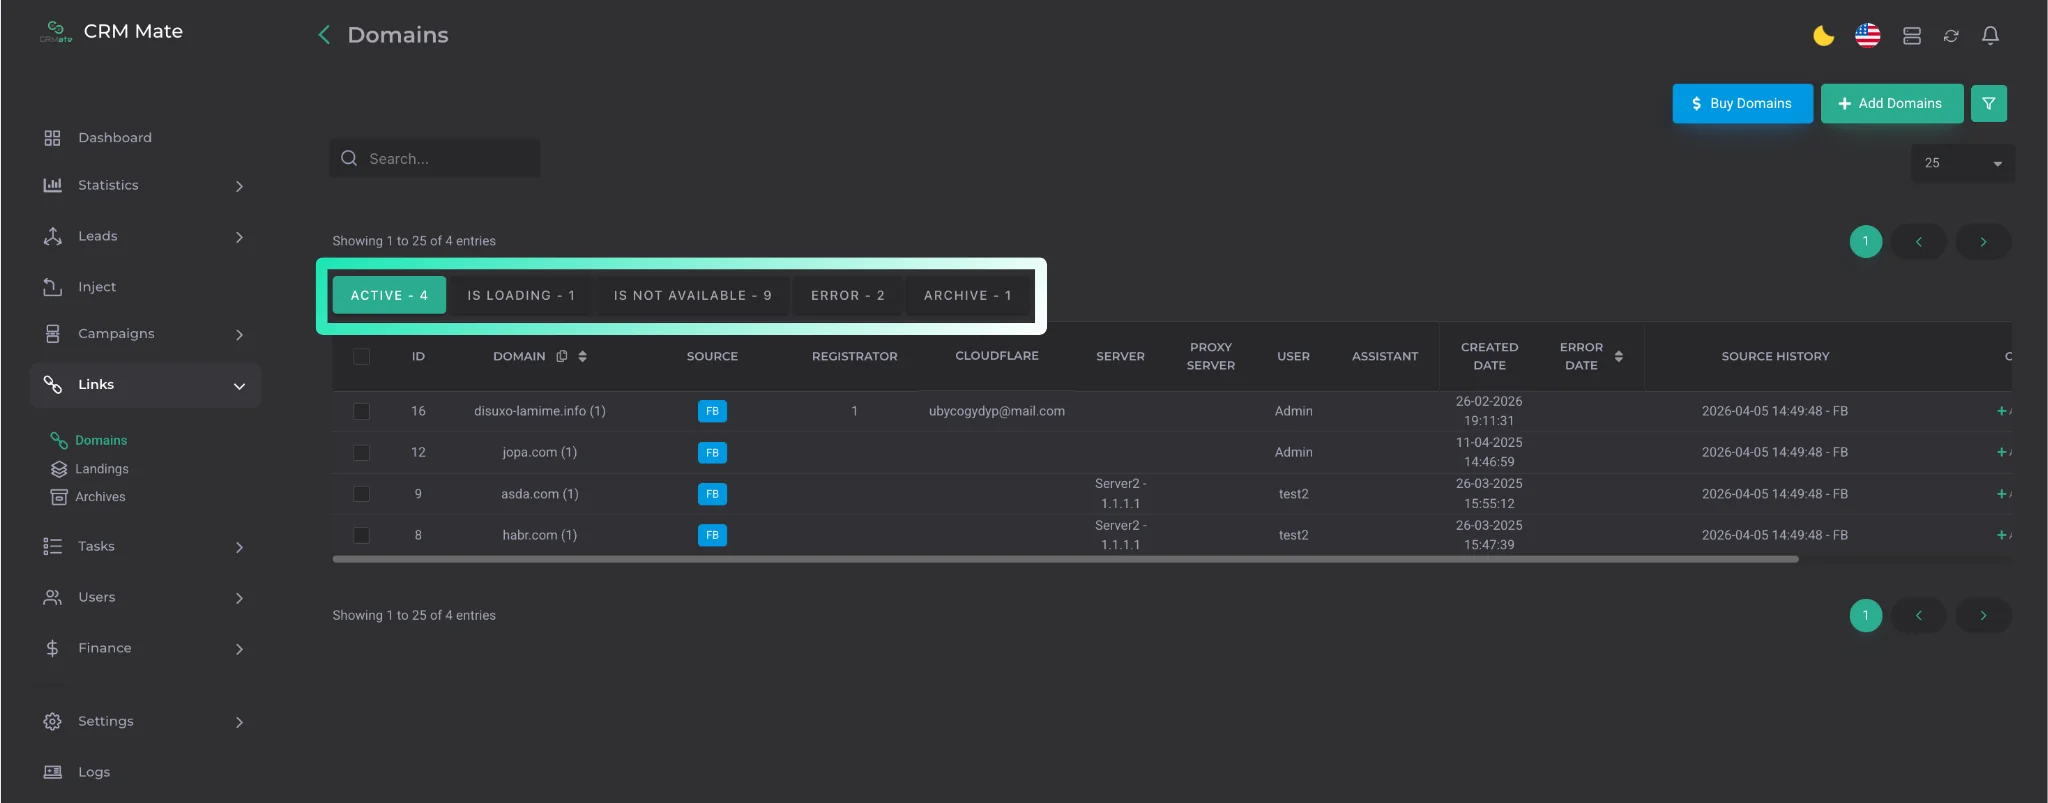
After the domain purchase is launched, the domain first goes to the Is Loading tab.
If the purchase is successful, after processing is completed, the domain will automatically move to the Active tab.
Domains also go to the Is Loading tab after being updated.
If a domain is deleted, it will move to the Archive tab.
If a domain becomes unavailable for any reason, the CRM automatically checks its status and moves it to the Is Not Available tab. A corresponding notification is also sent.
Domains with errors go to the Error tab. You can view the reason for the error by hovering the cursor over the exclamation mark next to the domain name.
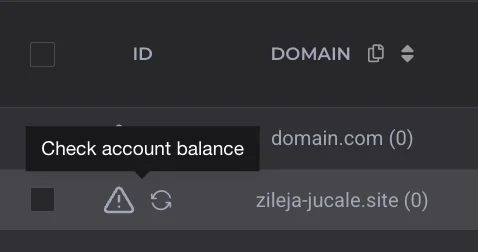
The most common errors that cause a domain to go to Error are:
- Check account balance — there are insufficient funds on the Dynadot or Namecheap balance. The balance must be topped up;
- The domain is taken — the domain is already taken, so another name must be selected;
- Keitaro api key not working — the Keitaro API key is not working. Check it or generate a new one;
- Something wrong — most often indicates a server issue. In this case, you need to contact support. If another error is displayed, you need to contact the support service to resolve it.